
In order to produce a successful track, you need to master the art of mixing. This process is where you take all your individual tracks and blend them together seamlessly in an audio file called a mixdown or master.
Mixing is a skill that requires a lot of attention to detail, knowledge, and also some essential tools for mixing down electronic music. These can range from simply using basic volume faders, compressors, and EQs up to more advanced techniques applied by using plugins such as reverb or delay effects which create space around your different elements.
The first step towards mastering the art of mixing is understanding the right way to set levels through gain staging. Here are some essential tips on how to apply gain staging correctly for best results:
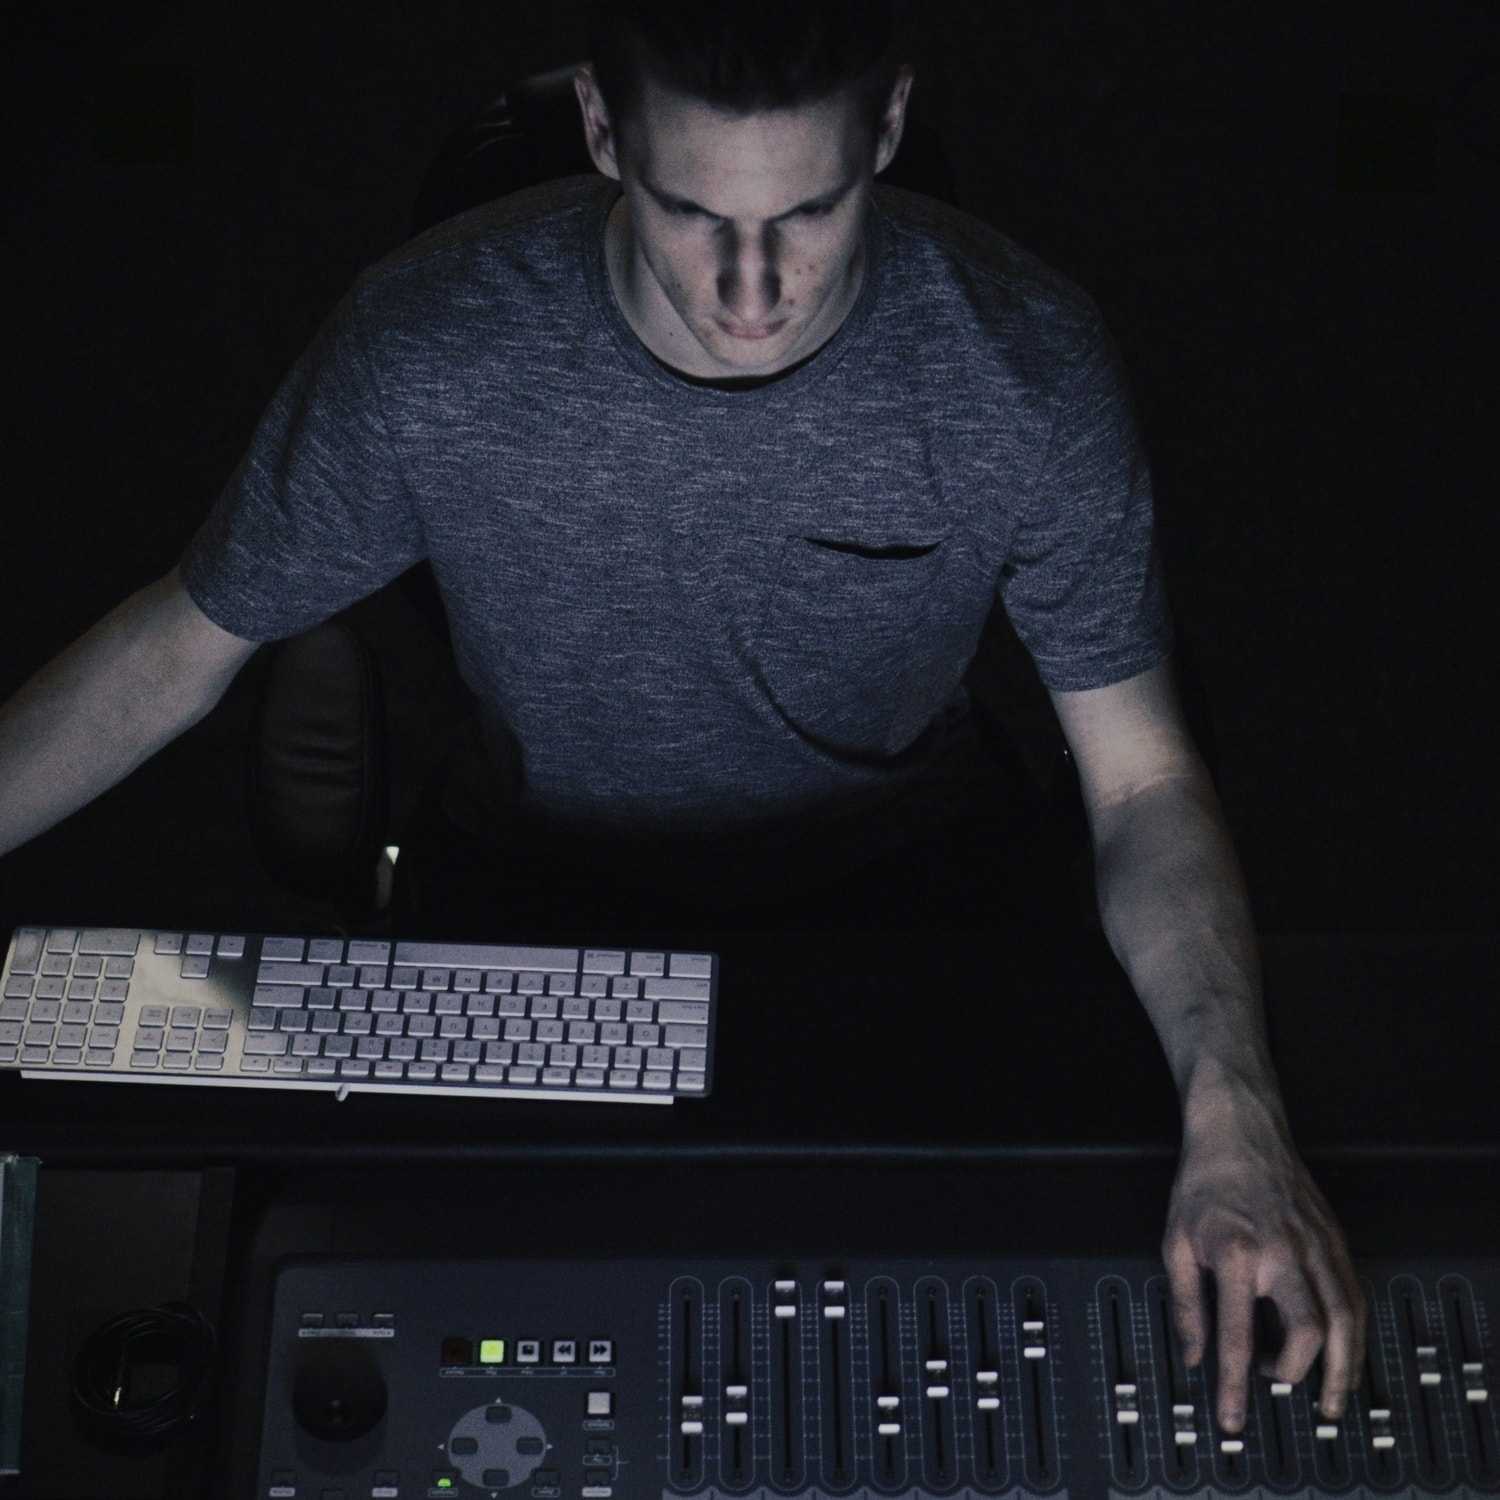
Volume Faders
Each volume fader in a DAW or digital audio workstation should start at zero and be set to unity gain (0dB). Gain staging is the process where you adjust the level of each track so that they are all at an appropriate volume. This serves two purposes: it sets input levels for recording correctly, and it creates headroom which gives a more dynamic range for your different tracks when playing back.
A mix can become crowded very quickly if all the tracks are ending up too loud, but there’s also the danger of not enough dynamics if everything starts too quiet. Here is how you get the best results with volume fading:
– Don’t mix on headphones! Headphones cannot reproduce full bass frequencies, which causes high mixdowns to sound thin and lack low end. It is much better to use studio monitors or hi-fi speakers for accurate frequency response.
– Proper gain staging starts when you’re recording. Make sure all your levels are appropriately set before hitting the record. The best technique here is to adjust the gain so that the loudest sounds peak in the range of -12dB to -6dB on your meters.
– When setting up gain staging in your DAW, start with aux and group gain and then move on to individual tracks because they will be slightly more complex. Aux and group tracks can be controlled by one fader, whereas each individual track needs its own volume fader.
This makes it easier when adjusting levels since you won’t lose sight of your master volume fader when adjusting each track’s gain staging.
– Don’t go overboard with the volume faders! This is where novice producers make most of their mistakes. If you push all your volume faders up too high, the mix will sound unprofessional and lack dynamics. You can also create clipping by setting your output too loud or running out of headroom (this causes digital distortion).
With that said, it is okay to give things a little boost in certain areas if needed, but this should only be done after you’ve got everything set correctly at -12dB to -6dB. Understanding what these numbers mean is key to improving your mixing skills from beginning to end.
– Remember not everything needs to be pushed up to full volume. Try panning certain elements out of the center and dropping the volume down to create space between different parts in your mix.
Compressors Limiters

Another essential tool for electronic music production is a compressor. Every producer should be familiar with how it works as this can give you much better control over all your tracks, especially things like hi-hats and snares which tend to stand out too much if they’re not compressed correctly.
Limiters work by using extreme compression and limiting all signal peaks that go above a specific threshold. The reason why we use limiters is that it helps avoid clipping and distortion caused by pushing up levels too high, but also gives us moreover our transients (or punch).
You may have heard of a compressor being described as a limiter with less aggressive settings, but this isn’t true. A compressor is designed to even out the dynamic range of your audio while giving your transients more presence within the mix.
The main difference between a compressor and a limiter is that compressors reduce level when the input signal goes over the threshold, where limiters simply prevent signal peaks from going above it.
In order to get specific results from these tools, you will need to understand how they work and what different attack and release settings do for your sound. Each type of compressor or limiter reacts differently depending on what you are trying to achieve with them. For example, using a fast attack time on a limiter will result in a punchy sound, but can cause distortion and fluttering if pushed too hard.
An uncompressed signal peak at 0dB and anything above this is considered over the top. This means we need to compress our sounds otherwise everything would sound too loud and unbalanced. The key here is to make sure you know how much exactly to take down each element (not too little or too much) and how it changes your overall dynamics.
– Use your compressor/limiter with the attack set at around 10ms for kicks or 20ms for snares. You can play around with these settings until you find what sounds most natural with each drum, but keep an eye on your gain staging! If you are pushing up everything else too loud, you won’t be able to notice if your compression is causing clipping or not.
– The release time of your limiter/compressor works by adjusting how quickly it brings the sound back up after everything drops below the threshold. This should be set to around 30ms for kicks and 60ms for snares (or slightly lower if you want that pumping effect). I
f your release is too long, then nothing will stand out since there isn’t any tension building up in the track. It’s important to find a nice balance between having enough punchiness without pushing things too high in volume.
Delay offers many more settings than reverb, so experiment with what sounds best with each individual. These effects work well on drums, vocals, or anything else you want to add an interesting spatial effect to.
– Use a short delay between 100-200ms with the mix set to around 10%. If it’s too much or too little, then try adjusting the feedback time instead. This can be useful for adding more intensity to certain parts of your track that are lacking low end. The sound will seem bigger and heavier by repeating everything louder each time it passes through the output.
Reverb
Reverb is great for adding size and space back into drums, vocals, or even whole mixes. You should never overpower this effect though as things tend to get messy if there’s too much reverb going on at once. A good rule of thumb is to use one reverb with a short decay time (<300ms) on each individual sound.
If you want to add extra emphasis, then try using another reverb with a longer decay time (500ms). This creates a greater sense of depth and allows the reverb to fade throughout the track without getting too messy.
– For drums, keep your reverb under 100% wetness. You can push this up a little higher if you fancy adding more shimmer or sparkle into them. The shorter decays work well for this as they give less room for things to build up in, but it’s important not to go overboard as they will start sounding messy.
Vocals are also great candidates for short reverbs as these naturally tend to cut through any background noise. As mentioned previously, you can experiment with different decay times on vocals to see what works best for your personal taste.
Three Band EQ
A three-band EQ is a must-have in any producer’s toolkit! In order to get the most out of this, set each individual frequency according to what sound you are working with. If it’s a bass-heavy sound, then focus more of your attention on the low frequencies.
A gentle boost here will add warmth and power to the drums. If it isn’t boosted enough, then nothing will happen when it comes through the speakers The same goes for other elements too such as vocals or synths.
Most producers tend to roll off some of the harsher high-end frequencies from time to time. Even if you’re not going for a dark tone, it can still be useful to roll off some of the harsher frequencies in order to get a cleaner mix.
– Keep your high pass filter around 20Hz for low-end elements such as kicks. If you are looking for something that cuts out more frequencies, then push this up slightly higher. When you only want to cut specific frequencies from sounds, then just turn the frequency dials to where these particular ones are located.
For example; if you wanted to remove all the lower mids (around 160 Hz) on your hi-hats, then set the second band at 160Hz and turn it down until they kind of disappear. The beauty of high pass filters is how natural everything sounds once you start doing it.
They act like sharp knives, so if you are unsure of how high to go, then just start pushing things up by 10Hz at a time. This way, you can hear exactly what is being cut out and work your way back towards the middle ground.